Dave's Pages |
|
|
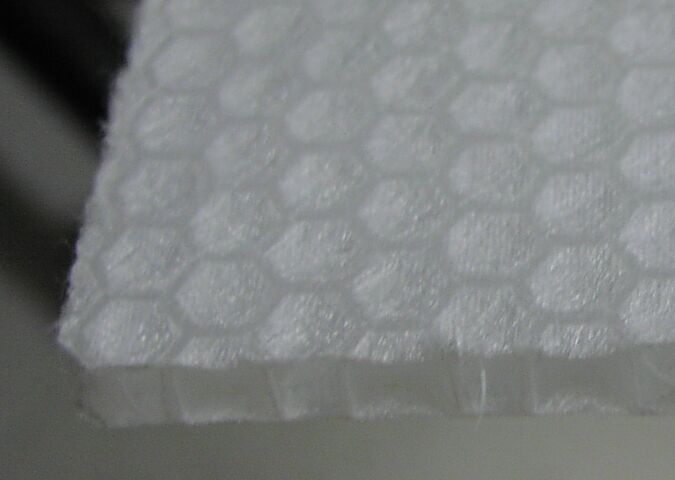
Making Panels for the New FirewallWant to see the firewall being installed? I received very good advice suggesting that I not mess with the firewall. The beaverboard was in decent shape and suffered only a couple of failures of the ever-critical glass/beaverboard interface. The interior portion of the firewall could easily have been sanded, glassed over, and otherwise left alone. No doubt the sensible thing to do. Except... the thought of that cheap-o beaverboard bugged me. Plus, if it failed in the future (like it hadn't yet in 30 years) repairs would be very difficult. Still, I'd have left it alone, except the local fibreglass guy happens to stock a material called plascore. This is a polypropylene honeycomb material that is much better described on their website. www.plascore.com Also worth mentioning is Nida-core, the material i thought I had purchased. www.nida-core.com They have a catalog with an excellent explanation of cored panel construction. So, I ignored that good advice. I figured I'd rebuild the firewall using panels made of a glass/honeycomb/glass sandwich. One canted panel behind each seat, and another vertical panel spanning the width of the cockpit for a total of three panels. I plan to fit and install the panels very carefully Here's what .25" thick plascore looks like when you get it. You can clearly see the polyester scrim-cloth which is thermally bonded to the polypropylene honeycomb.
I bought a 2' X4' piece of the .25" thick honeycomb. I decided to experiment by laminating up a panel, 34X17" that could later be cut into the two behind-the-seat panels. Here's what I did:
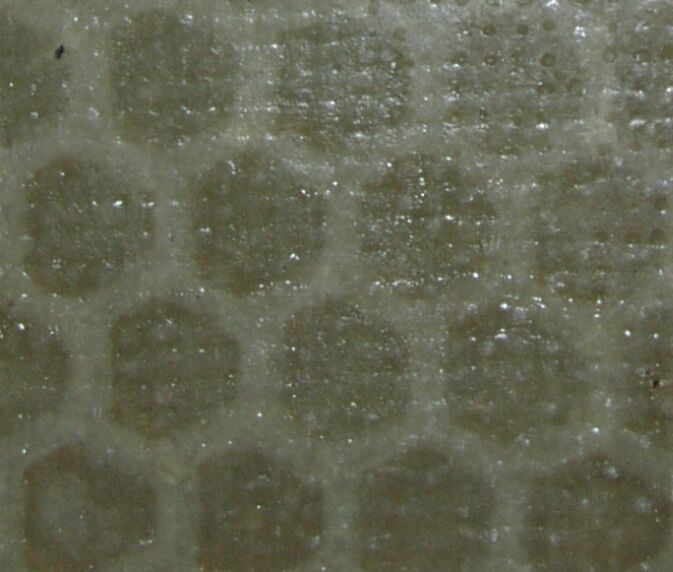
Here's what my laminated and cured panel looks like:
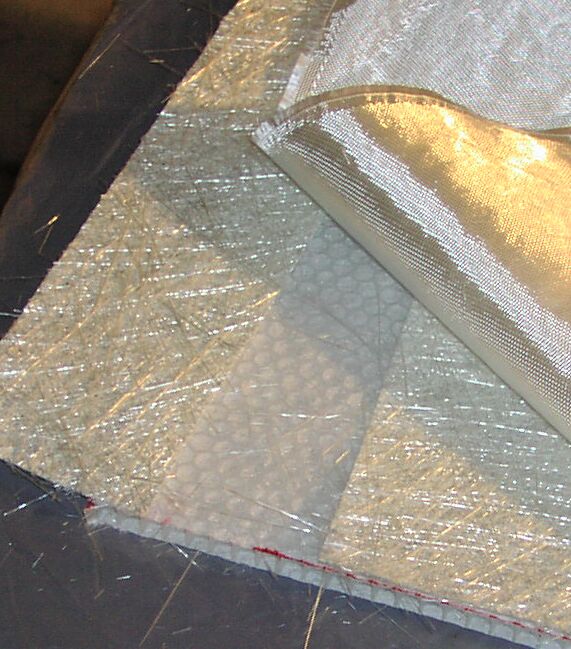
Interesting. It is quite stiff. It seems very strong, I'll mangle some off-cuts later. Also, it is not exactly feather light, (except in comparison to its strength perhaps) no surprise that the glass and resin add weight. I have read that the stiffness of composite panels varies with the square of thickness. I had thought that the thicker (.375") material would be ideal for this application, and assuming the same amount of glass and resin is used, the incremental weight increase would be minimal, while the incremental strength would be vastly greater. I am now concerned that at that thickness, it would be so stiff it couldn't be fitted to the car, as the original board is bowed about 1" across its width. It might be necessary to laminate one side, install it then laminate the other, interior side. Now THAT might work really well... So, away we go. Below you see the beginnings of a slightly different approach to fiberglassing one side of the panel. First I set up a worktable made from an old but very flat laminate tabletop over which I draped a sheet of polyethylene vapour barrier. I cut 1/2" mat, 4oz cloth and the 3/8" plascore to 53X18", an inch or two oversize for the upper firewall panel.
I then wetted out the entire surface with resin and rolled it out until the scrim cloth was wetted as well.
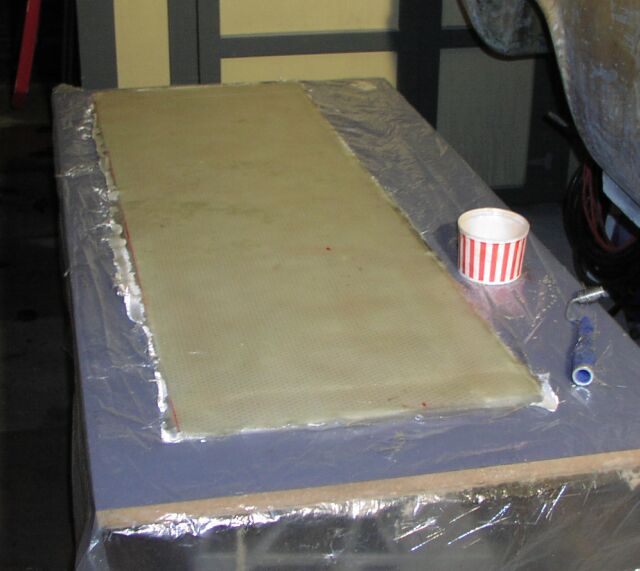
I noticed on the plascore website that they recommend curing the material under some pressure, so I carefully folded the vapour barrier over top and laid it flat against the wet resin. It makes a great release liner. Then I placed my thick sheets of plate glass on top of that, some weights onto the glass, then I tented the lot with a tarp and turned on the heater. It worked as planned., though in retrospect I'd have just used release wax on the formica tabletop, and flip the still wet panel onto the tabletop, then press it down. I';m thinking off making some seats... |